THIRD-PARTY PLUGINS - ABLETON
Digital Audio Workstations (DAWs), such as Ableton Live, offer an abundance of built-in tools for music production (Ableton comes stocked with many great plugins, such as reverbs, virtual synthesizers, delay, etc…). However, the ability to integrate third-party FX and VST plugins significantly enhances the creative potential of these software platforms. These additional tools expand the range of sounds, effects, and processing capabilities available. In this guide, we delve into the process of installing third-party plugins in Ableton Live, providing step-by-step instructions and considerations for seamless integration.
1. Plugin Installer File
The initial step in the installation process is to obtain the plugin installer file. This can be done through the plugin developer’s official website or the location where you acquired the plugin. Some plugins may also provide a direct download link within the installer file or a download manager. Additionally, some plugin developers may offer a choice of installation methods, such as a standalone installer or an integrated installation process.
2. Locate and Move The Plugin Files
At this step you want to locate the installer file (usually a .dll or .vst file). Once located within the file manager, drag and drop the plugin file into the appropriate folder on your computer:
For Windows:
- 32-bit plugins: C:\Program Files\Common Files\VST2
- 64-bit plugins: C:\Program Files\Common Files\VST3
For macOS:
- 32-bit plugins: /Library/Audio/Plug-Ins/VST
- 64-bit plugins: /Library/Audio/Plug-Ins/VST3
3. Find The Plugin(s) In Ableton
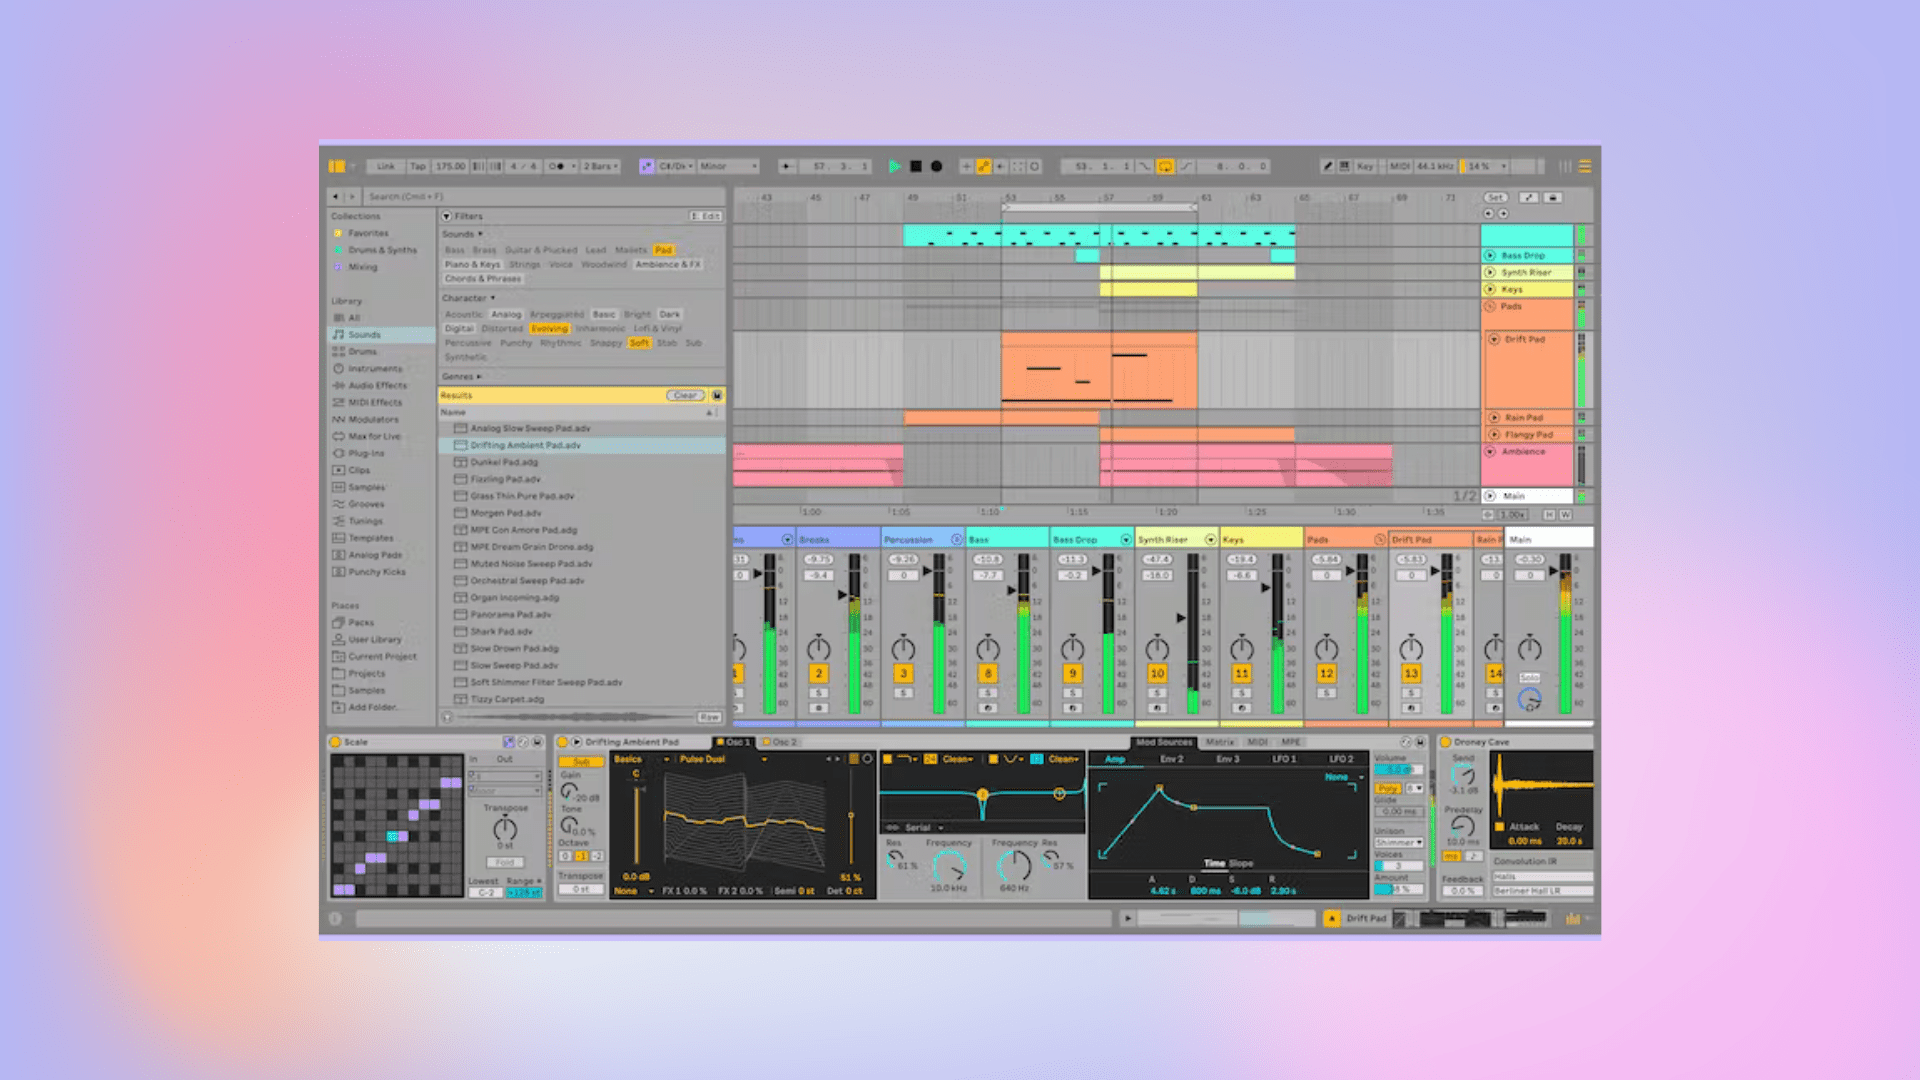
Next, you want to open Ableton and visit the Browser. Here, go to Plugins > Audio and select the plugin category. You should find the installed plugin here.
If you are unable to locate the plugin here, it may be due to Ableton not automatically scanning for new plugins. If this is the case, you need to initiate a manual scan by going to Preferences > File/Folder and click the Scan for Plugins button.
To use the plugin, drag and drop it onto a track in the Session View or Arrangement View.


